Air Hockey Table: Buying, Setting Up, and Playing Tips
Looking for a fast, fun game that fits in your living room? An air hockey table might be the answer. It’s cheap enough for most budgets, easy to set up, and can keep a group entertained for hours. Below you’ll find straight‑forward advice to help you pick the best table, get it ready, and start winning fast.
Choosing the Right Air Hockey Table
First, think about where you’ll put the table. Measure the space and leave at least a foot of clearance on each side – you need room for the paddles and for the puck to glide. Most adult‑size tables are about 48‑inch long; they work well in a garage, basement, or game room.
Next, check the power rating. A table that uses a 120‑volt motor can keep the surface smooth, but a 12‑volt model is quieter and easier on the electricity bill. If you’re sensitive to noise, go for the lower voltage option.
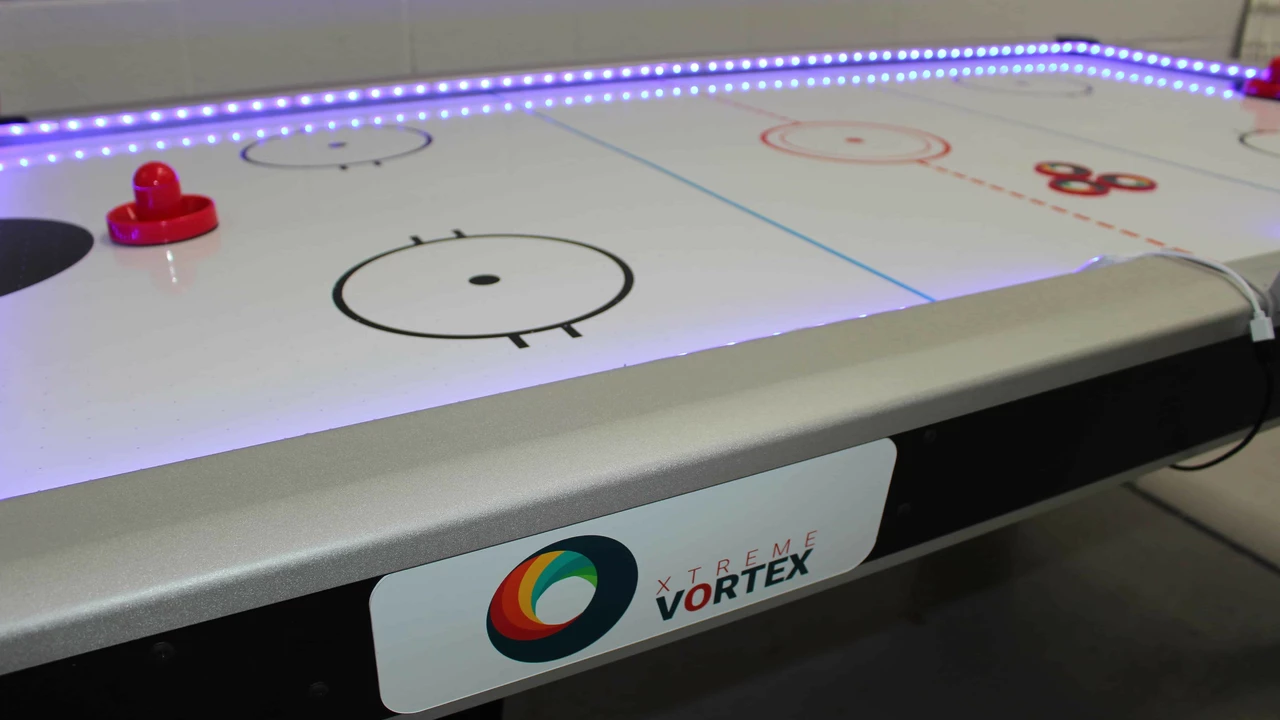
Look at the surface material. Acrylic tops are cheap and lightweight, but they can scratch easily. Polycarbonate tops cost a bit more and resist scratches, so they stay shiny longer. If you plan to move the table often, a lighter surface is a plus.
Price matters, but don’t let it be the only factor. A $200 model might have a weak blower and a wobbly frame, which ruins the game. Spend a little more on a table with a sturdy frame, smooth airflow, and solid bumpers. Those features give you consistent play and last longer.
Finally, read reviews. See if owners mention problems like the puck stopping mid‑game or the blower humming loudly. Real‑world feedback tells you more than the product description.
Setting Up and Improving Your Game
When the box arrives, unpack carefully and follow the manual step by step. Most tables need three or four bolts tightened before you plug them in. Make sure the legs are even; use a level if you have one.
After you plug the table in, let the blower run for a minute or two. The surface should feel cool to the touch – that’s the air cushion working. If the puck sticks, check for debris and clean the top with a soft cloth.
To get better at air hockey, start with the basics. Keep your paddle low and use short, quick strokes. The goal is to push the puck with speed, not swing wildly. Practice defending the goal by moving side‑to‑side with small adjustments; a big swing will often send the puck off the table.
Try a simple drill: have a friend shoot the puck from the far end while you focus only on blocking it. After a few minutes, swap roles. This drill improves reaction time and teaches you where the best angles are.
If you want to up the competition, set a timer and play to a set score, like 7‑5. The timer adds pressure and makes each move count. You can also play with two pucks at once for chaos – it’s a fun way to break the routine.
Maintenance is easy. Wipe the surface after each session to remove dust. Check the blower fan every few months; a small brush can clear any hair or lint that builds up. Tighten any loose bolts before the next game.
There you have it – a quick roadmap to buying, setting up, and playing on an air hockey table. With the right table and a few practice tips, you’ll turn any room into a mini arcade and keep friends coming back for more.
So folks, here's the deal - can you put an air hockey table outside? Well, you sure can! But remember, not all air hockey tables are created equal and some might not stand up to the elements as well as others. So before you start your outdoor air hockey tournament, make sure your table is weatherproof. And if it's not, don't worry, just grab a cover or find a spot under some shelter - there's always a way to bring the fun outside!